Web App Print
How to install and setup the Hardware
Applicable Interface
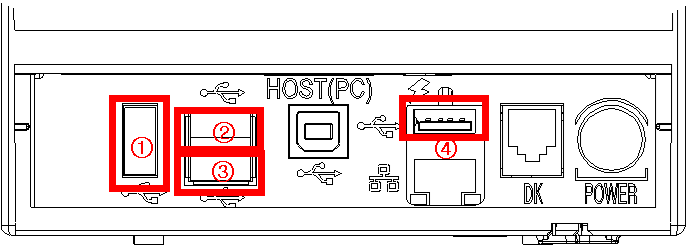
USBConnecting
Connecting
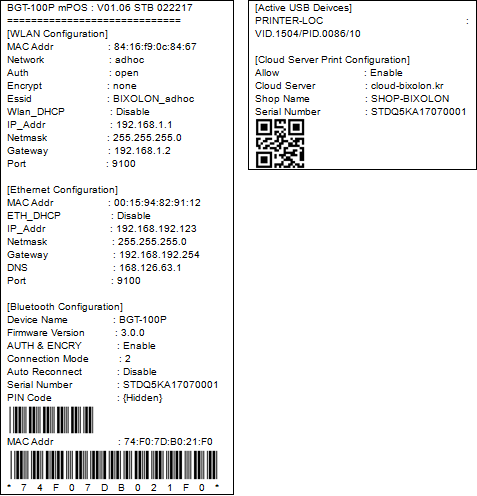
• After B-gate booting is complete, proceed to "Opening the printer cover → Pressing the Feed key → Closing the printer cover", and the B-gate self-test describing the LAN configuration information is printed.
• Check the ETH_DHCP value in the self-test. If the value is Disabled, open the network configuration of the host (e.g., PC) and set the LAN of the host to the same as the LAN configuration of the B-gate. For example, if the default IP of the B-gate is 192.168.192.168, set the IP of the host to 192.168.192.x (x = 1 ~ 254) and the Subnet Mask to 255.255.255.0.
• When connecting the LAN cable with the ETH_DHCP value set to Enabled, the B-gate automatically brings IP information from the DHCP server (router). By printing the self-test of B-gate, you can check the IP assigned to B-gate.• Utilities are provided so that users can set up the interface.
• Web Utilities: It can be accessed by entering IP of B-gate in the address window of the web browser.
• Native Utilities: Utility apps that can run on each OS are provided.Wireless LAN
Connecting
• Connect the supported WLAN dongle to the B-gate, and turn on the B-gate.
• After B-gate booting is complete, proceed to "Opening the printer cover → Pressing the Feed key → Closing the printer cover", and the B-gate self-test describing the WLAN configuration information is printed.
• First check the network value in the self-test. If the value is adhoc, open the wireless connection menu of the host (PC, tablet, smartphone) and set it as adhoc before connecting. The default network mode for B-gate is adhoc, ESSID is BIXOLON_adhoc, and IP address is 192.168.1.1.
• If the value is infra, connect the host to the AP connected to the B-gate.
• Check the WLAN_DHCP value in the self-test. If the value is disable, the host (e.g. PC), open the network configuration and set the host's WLAN to the same as the B-gate's WLAN configuration. For example, if the default IP of the B-gate is 192.168.192.168, set the host IP to 192.168.192.x (x = 1 ~ 254) and Subnet Mask to 255.255.255.0.
• When connecting the LAN cable with the ETH_DHCP value set to enabled, the B-gate automatically brings IP information from the DHCP server (router). By printing the self-test of B-gate, you can check the IP assigned to B-gate.• Utilities are provided so that users can set up the interface.
• Web Utilities: It can be accessed by entering the IP of B-gate in the address window of web browser.
Connecting
• Turn on the B-gate that supports Bluetooth.
• After B-gate booting is complete, proceed to "Opening the printer cover → Pressing the Feed key → Closing the printer cover", and the B-gate self-test describing the WLAN configuration information is printed.
• Check the device Name value in the self-test.
• Pair the devices you want to connect from the list of devices found in the host.
• Utilities are provided so that users can set up the interface.
• Native Utilities: Utility apps that can run on each OS are provided.
How to install peripherals
ConnectingConnect supported peripherals to the USB-A type on the back of the B-gate, and turn on the B-gate.
After B-gate booting is complete, proceed to "Opening the printer cover → Pressing the Feed key → Closing the printer cover", and the B-gate self-test describing the enabled peripheral configuration information is printed.
How to connect B-gate to Web Server
The B-gate comes with built-in webserver and a Web Configuration Tool (BGATE WebCONFIG Tool) as well. All the B-gate’s Web Print configuration and setting done via BGATE WebCONFIG Tool. Since the BGATE WebCONFIG Tool is a web application, the supported interfaces are
LAN (Local Area Network)
WLAN (Wireless Local Area Network)
|
Caution |
The BGATE WebCONFIG Tool is password protected, please contact BIXOLON for account credential details. |
LAN
WLAN
Utility Setup
Network Configuration
Verify LAN InformationSet LAN Information
Verify WLAN Information
Set WLAN Information
External Printer Configuration
USB Printer SettingsA printer, which is connected to the B-gate via USB does not require a separate ID setting. The B-gate will recognize the connected USB printer by the USB physical connection and the connected USB printers can be controlled with the specified ID by the B-gate
Network Printer Settings
An external network printer, which is connected to the B-gate requires a separate unique ID setting. The B-gate will recognize the connected network printer using the given unique ID.
2) Register Network Printer
3) Register Network Printer
Rerouting Printer Settings
Rerouting printers are just like the back-up printer, when the designated printer is out of service. The printer job will automatically redirect to the registered rerouting printer based on its priority.
|
Caution |
The Rerouting Device ID and the Network Printer Device ID are different IDs |
1) Verify Rerouting Printer Information
(3) From the Rerouting Printer List table, click the Up or Dw button on the rerouting printer to change its priority and then click the UPDATE PRIORITY button.
Upload Web Application
Since the B-gate comes with its own built-in web server, you can upload your own web application to the B-gate. The compressed Web Application can been uploaded to the web server document’s root directory and decompressed. To open the uploaded web application, enter the web server IP address/”Web Application Name” in the address bar of the web browser.
|
Caution |
Only a ZIP compression format is supported. |
1) WebApp Print, Web Application Upload
Protocol Configuration
Protocol Configuration
1 Enable/Disable Telnet Protocol
- Open the BGATE WebCONFIG Tool by entering the B-gate’s IP address in the
address bar of the web browser.
- Click Configuration >> Set Protocol menu
- From TELNET list box, select Enable if you want to enable the Telnet Protocol,
select Disable if you want to disable it.
- Click the Set Protocol button, it will enable/disable the Telnet protocol and
displayed the B-gate acknowledgement message as well.
2 Enable/Disable SNMP Protocol
- Open the BGATE WebCONFIG Tool by entering the B-gate’s IP address in the
address bar of the web browser.
- Click Configuration >> Set Protocol menu
- From SNMP list box select Enable if you want to enable the SNMP Protocol,
select Disable if you want to disable it.
- Click the Set Protocol button, it will enable/disable the SNMP protocol and
displayed the B-gate acknowledgement message as well.
3 Configure SNMP Protocol
- Open the BGATE WebCONFIG Tool by entering the B-gate’s IP address in the
address bar of the web browser.
- Click Configuration >> SNMP Configuration menu
- Enter the required details and then click the Configure button, This will
configure the SNMP protocol and the B-gate will send the acknowledgement to
the web browser as well
4 Enable/Disable XPM Protocol
- Open the BGATE WebCONFIG Tool by entering the B-gate’s IP address in the
address bar of the web browser.
- Click Configuration >> Set Protocol menu
- From XPM list box, select Enable if you want to enable the XPM Protocol,
select Disable if you want to disable it.
- Click the Set Protocol button, it will enable/disable the XPM protocol and
displayed the B-gate acknowledgement message as well
5 Get XPM Protocol Configuration
- Open the BGATE WebCONFIG Tool by entering the B-gate’s IP address in the
address bar of the web browser.
- Click Configuration >> XPM Configuration menu
- Click the Get XPM button, This will get the current XMP configuration
information from the B-gate and displayed it on the necessary fields in the web
browser as well.
6 Set XPM Protocol Configuration
- Open the BGATE WebCONFIG Tool by entering the B-gate’s IP address in the
address bar of the web browser.
- Click Configuration >> XPM Configuration menu
- Enter the required details and then Click the Set XPM button, This will Set the
current XMP configuration information to the B-gate and displayed the
acknowledgement message on the web browser as well.
7 Get IPP ( Internet Printing Protocol) Protocol Configuration
4) Open the BGATE WebCONFIG Tool by entering the B-gate’s IP address in the
address bar of the web browser.
5) Click Configuration >> Internet Printing Protocol menu
6) This will get the current IPP protocol configuration information from the B-gate
and displayed it on the necessary fields in the web browser as well.
8 Set IPP ( Internet Printing Protocol) Protocol Configuration
4) Open the BGATE WebCONFIG Tool by entering the B-gate’s IP address in the
address bar of the web browser.
5) Click Configuration >> Internet Printing Protocol menu
6) Enter the required the details and then click the Configure button, This will set
the current IPP configuration information to the B-gate and displayed the
acknowledgement message on the web browser as well.
Development Environment
Web Application usually runs in web browsers, so there is no need for specific operating system supports; however, the selection of web browser should be relevant. Since our BIXOLON’s B-gate uses HTML 5 features, it is essential to use HTML5 supported web browsers, this section will discuss about the browser versions which are supported by our SDK APIs.
Supported Web Browser Versions
• IE (Internet Explorer): 10.0 and above
• Chrome: 16 and above
• Chrome Mobile: 16 and above
• Safari: 6.0 and above
• Safari Mobile: 6.0 and above
• Firefox: 11.0 and above
• Firefox Mobile: 11.0 and above
• Opera: 12.10 and above
• Opera Mobile: 12.10 and above
• Android Browser: 4.4 and above
Sample Apps
The B-gate comes with built-in Sample App to test the B-gate’s WebApp Print functionality. The Sample App has three kinds of demo applications, POS DEMO, LABEL DEMO and DEVICE CONTROL, The POS DEMO is used to test the POS Printers with B-gate.
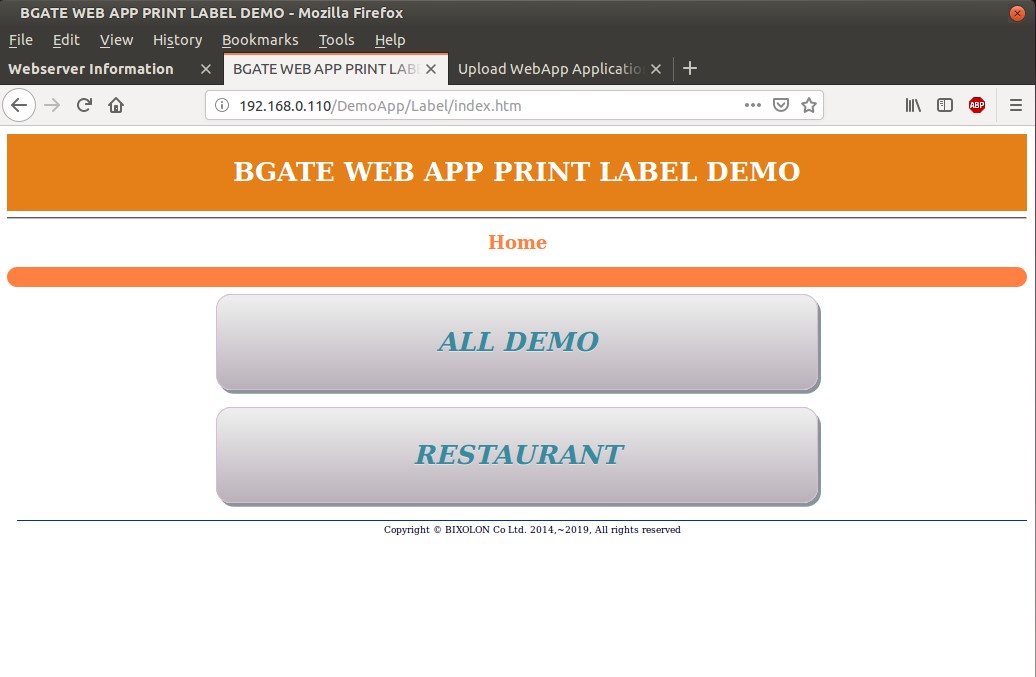
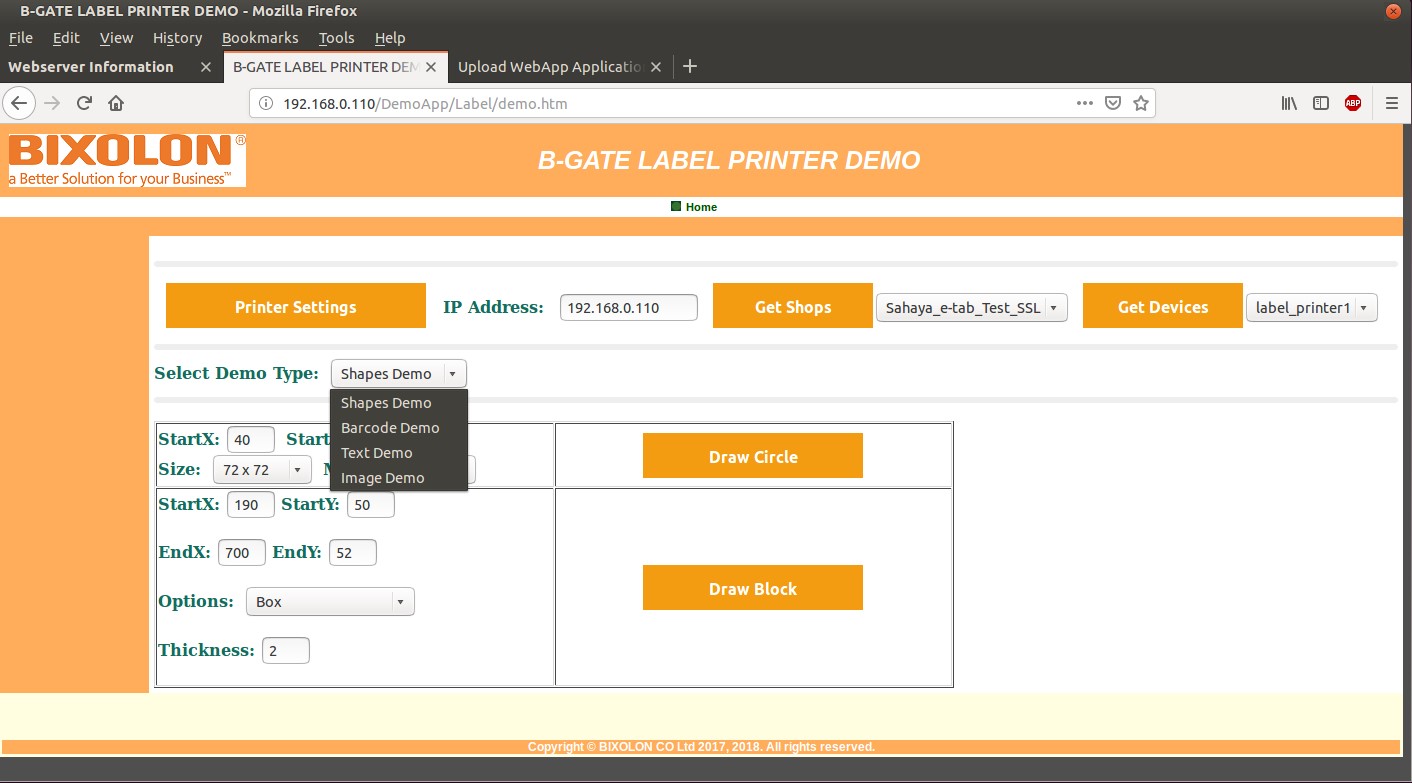
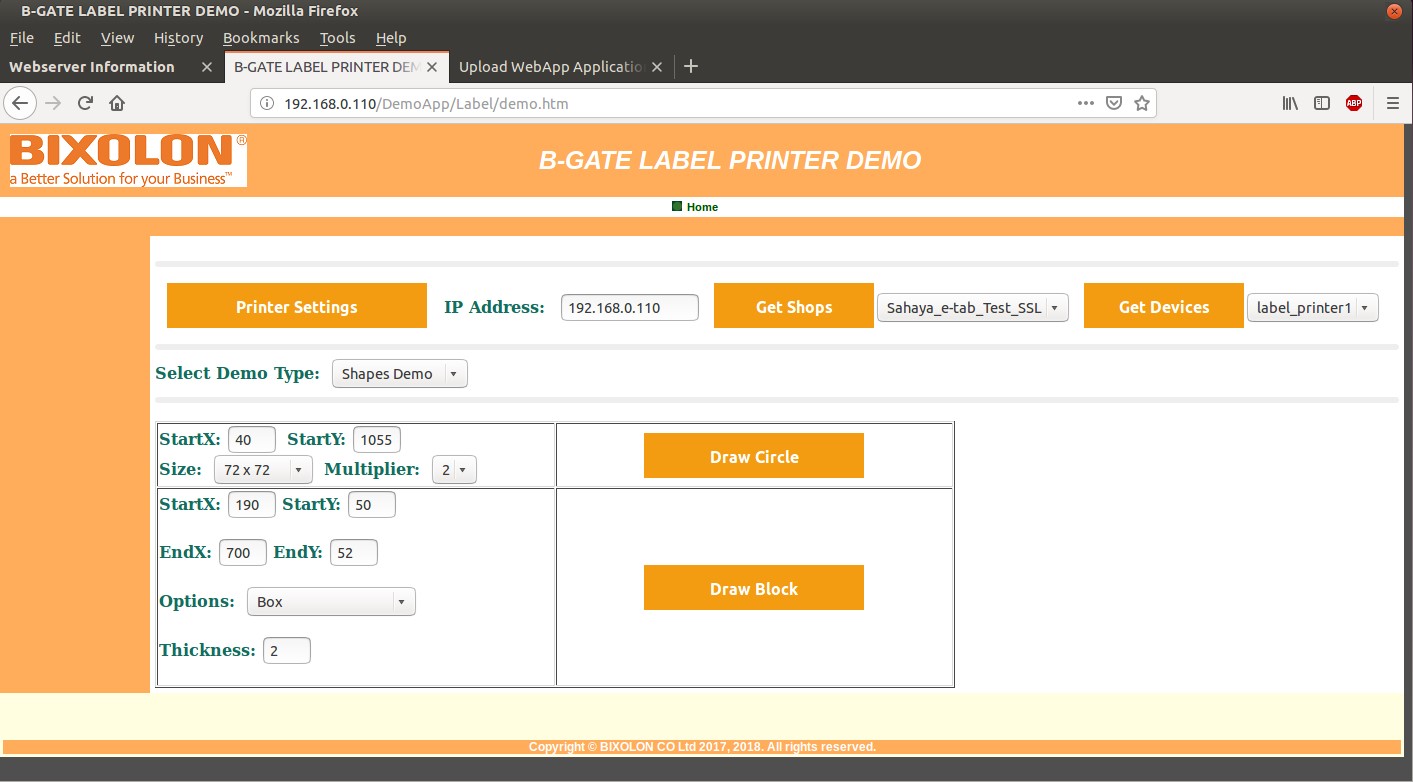
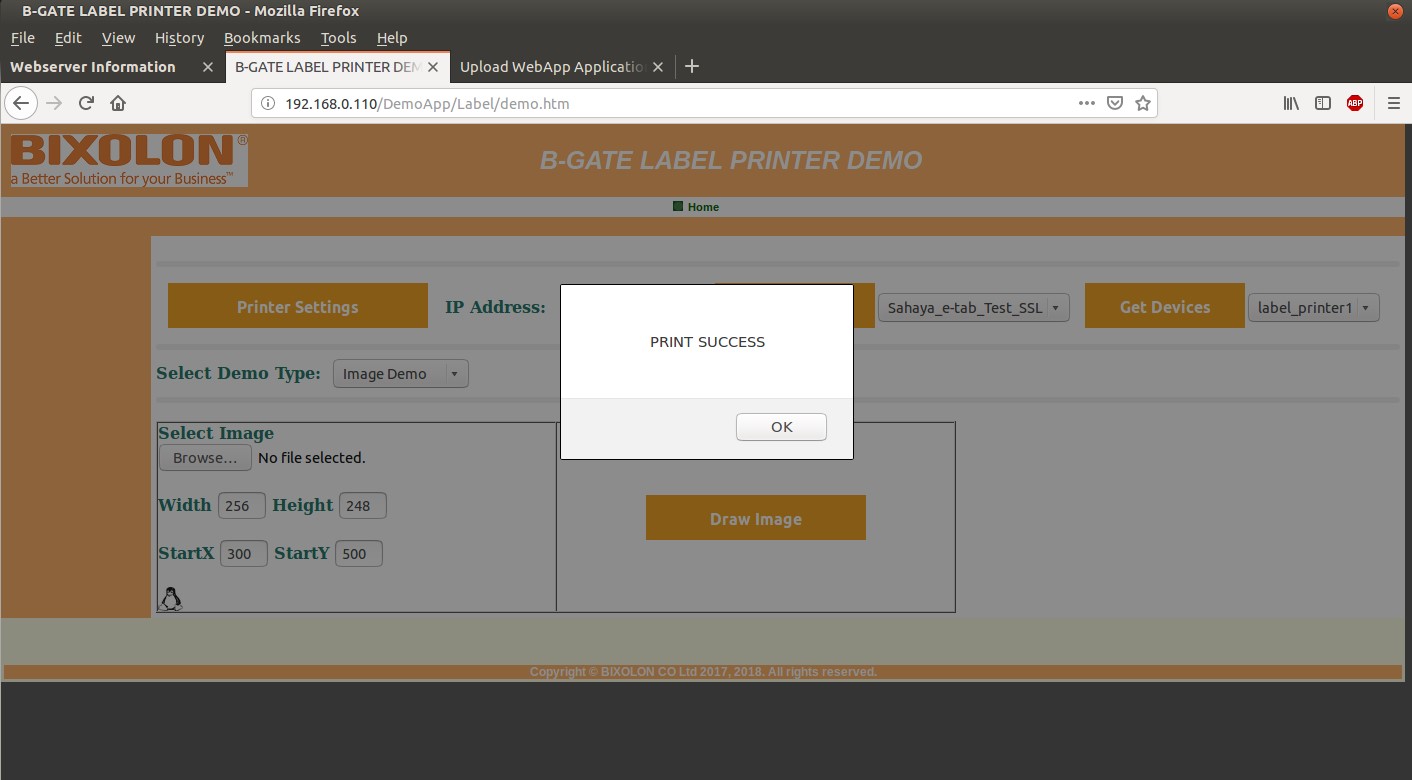
The LABEL DEMO is used to test the Label Printers with B-gate.
The DEVICE CONTROL demo is used to test the Peripheral devices, such as,
Scanners, MSR, RFID, NFC, Dallas Key Readers, Scale and BCD Display
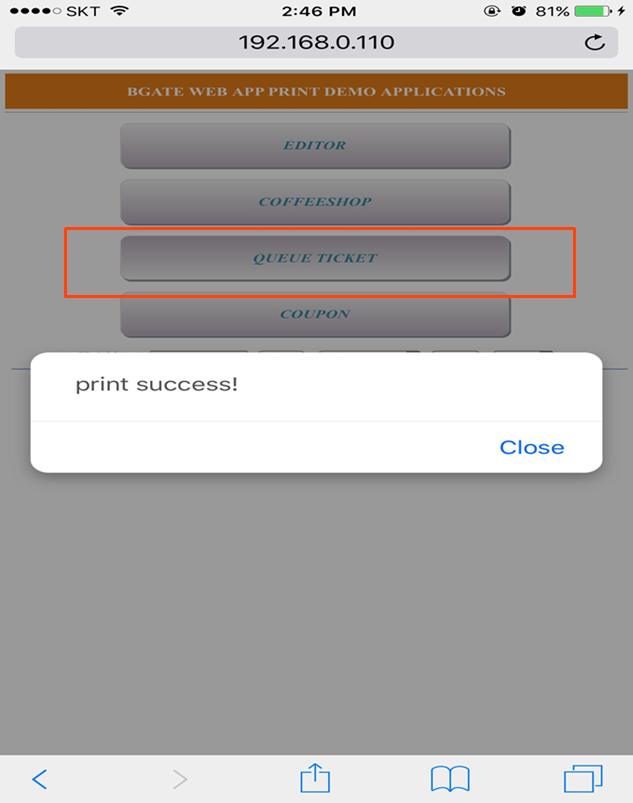
4. Click POS DEMO button.
5. A new web page for the POS DEMO will appear in your web browser
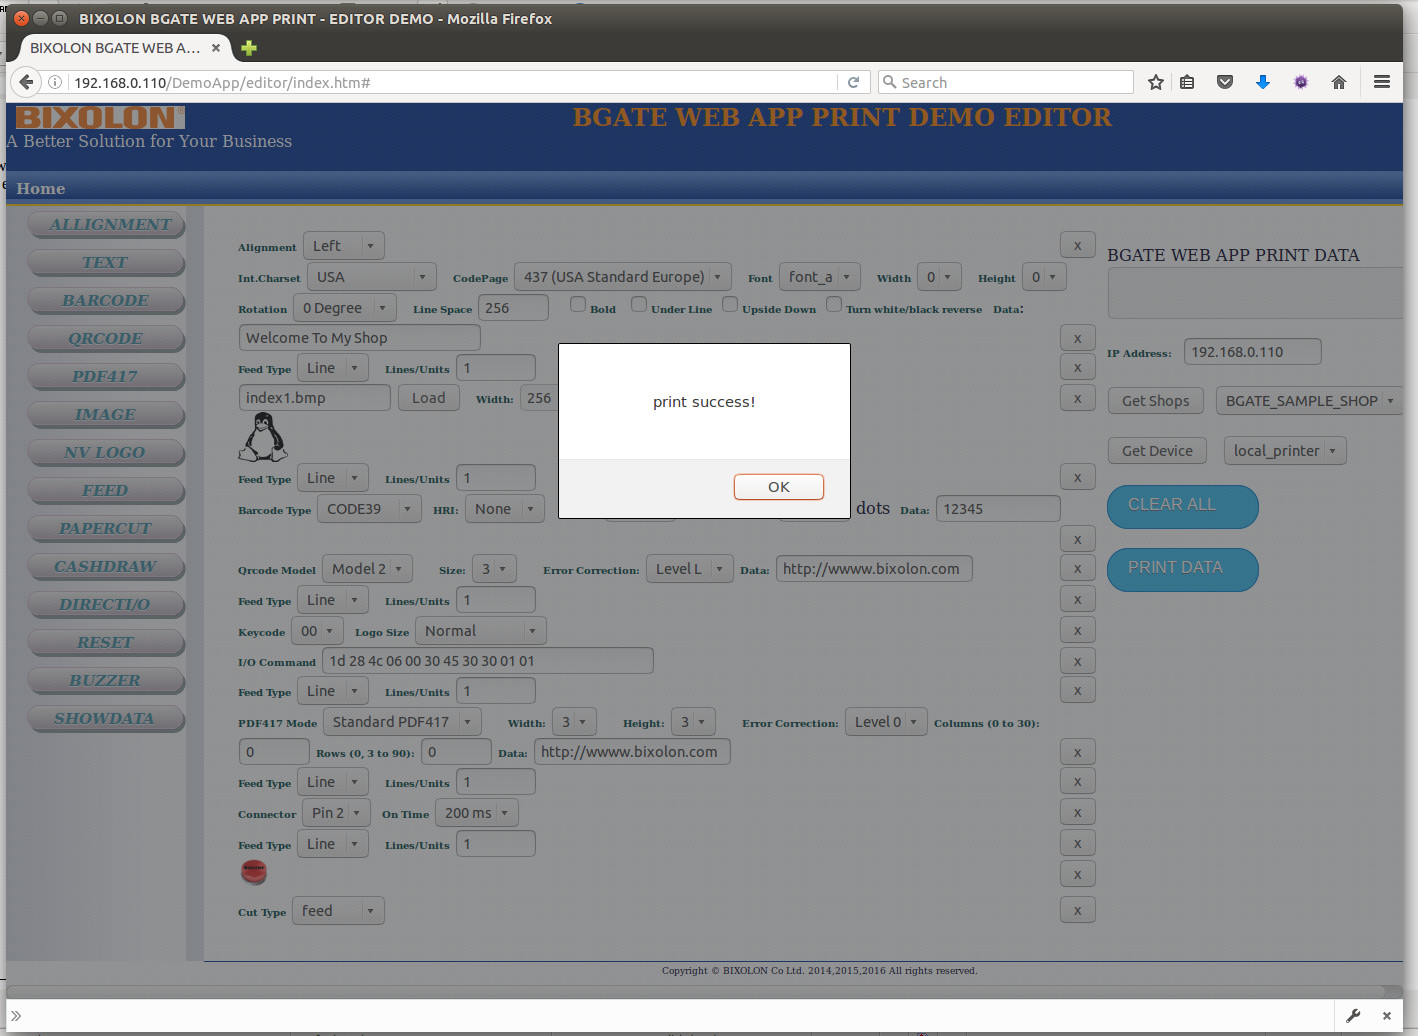
- EDITOR - Make your sample print page and Print
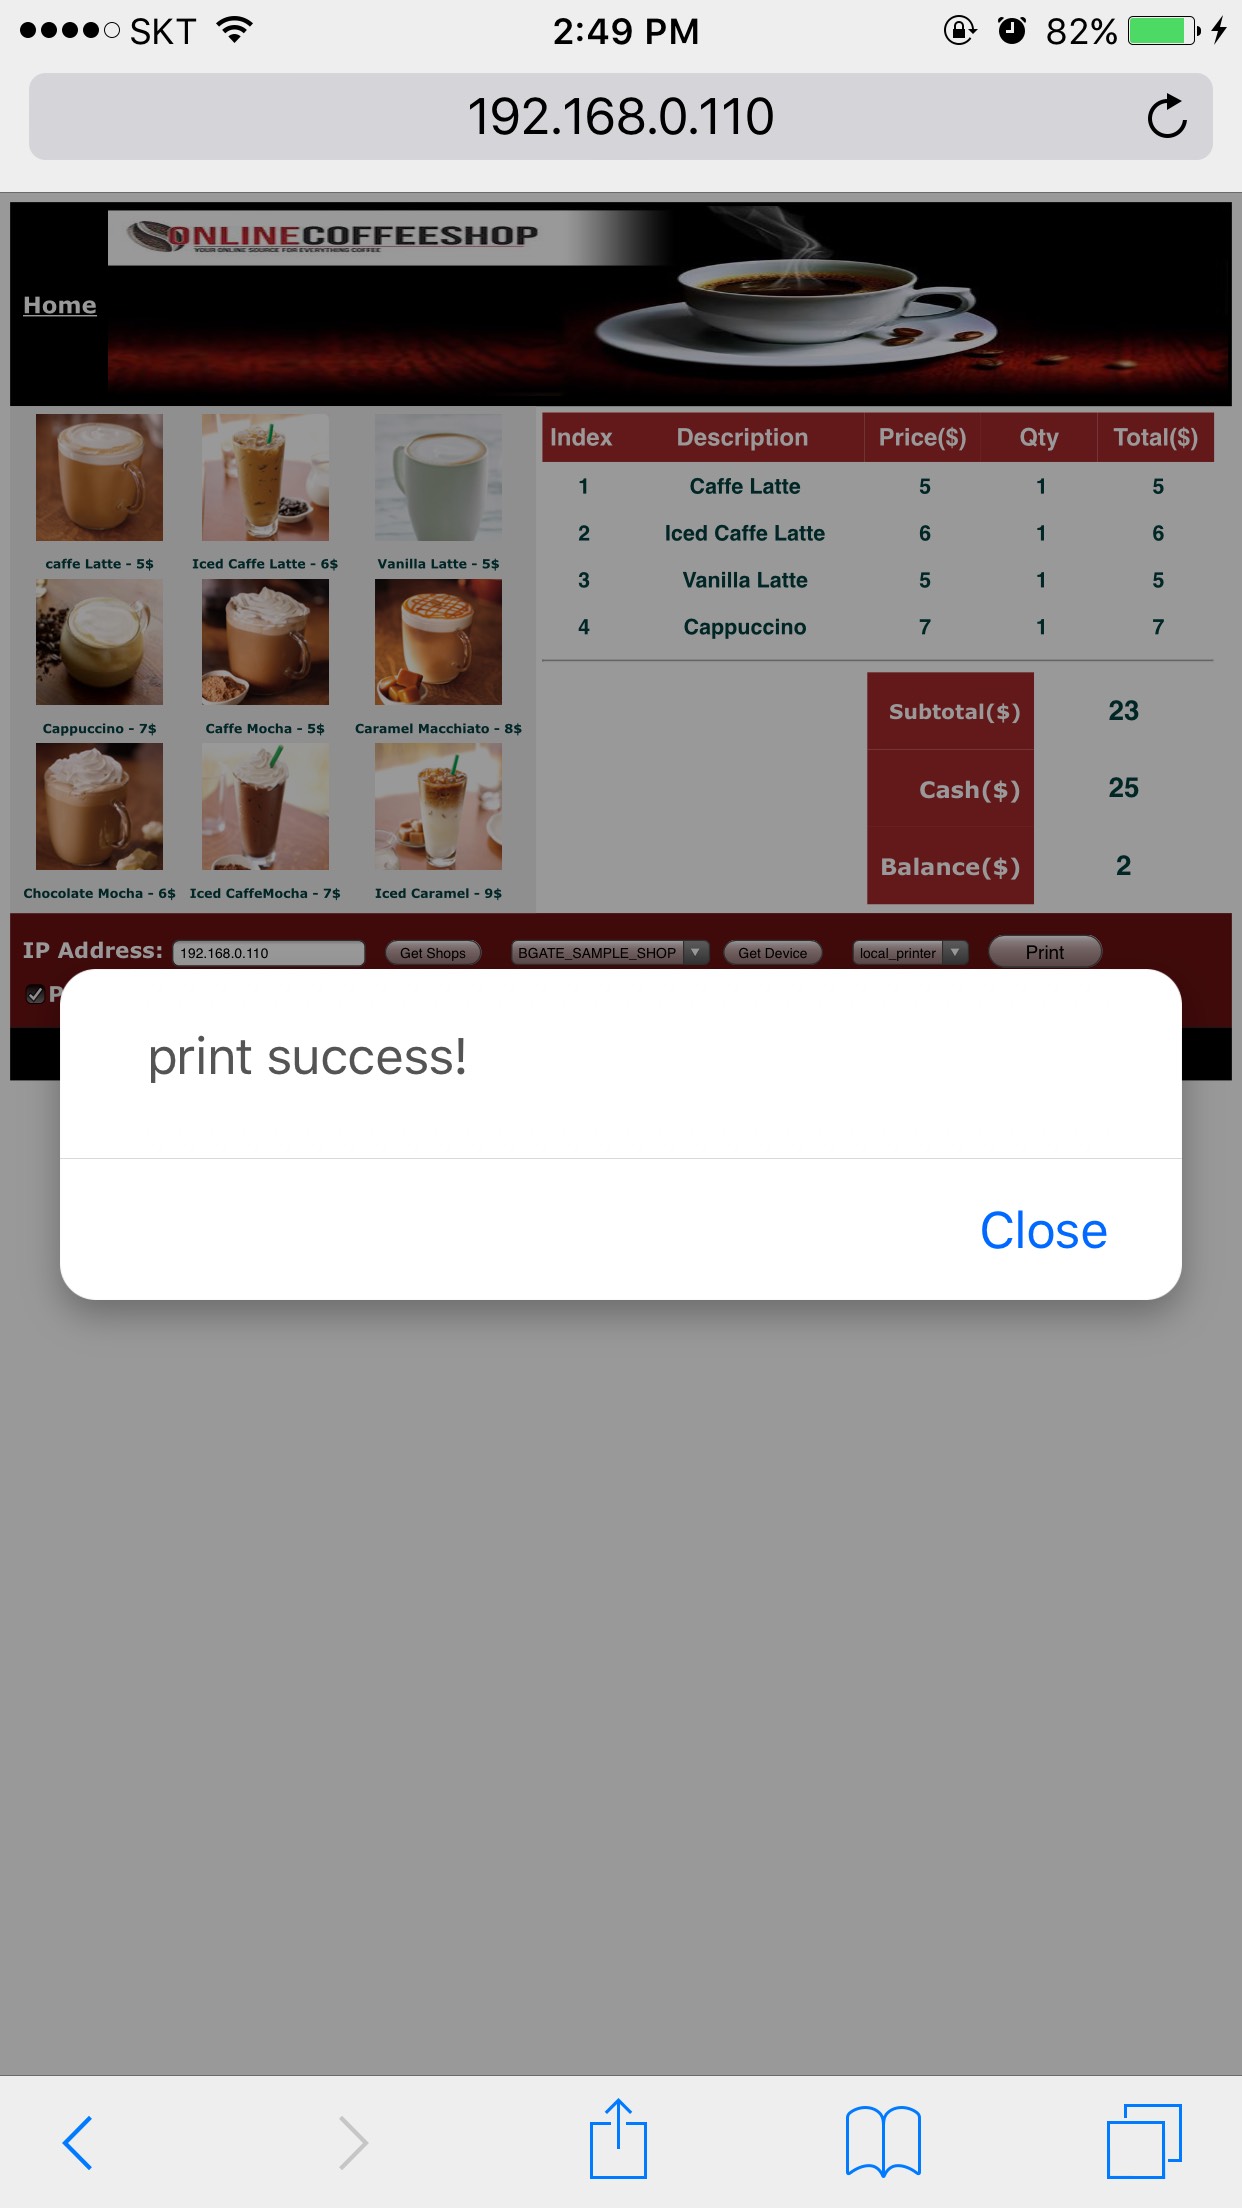
- COFFEE SHOP – Sample Coffee Shop demo
- QUEUE TICKET – sample Queue Ticket Printing
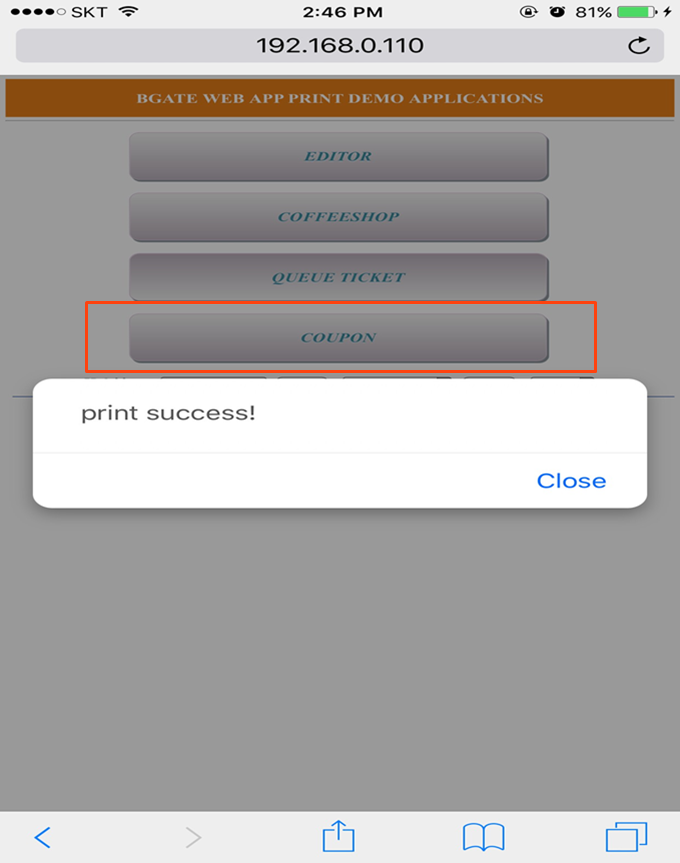
- COUPON – Sample Coupon Printing
8. If you want to Print Sample Coupon, Enter the B-gate’s IP Address in IP Address box and then click the Get Shops button and then click the Get Device button and then select your designated printer from the Get Device drop down box, by default local_printer is selected. After selecting the designated printer, click the COUPON button it will print the sample coupon on the selected printer and display the printer status as well.
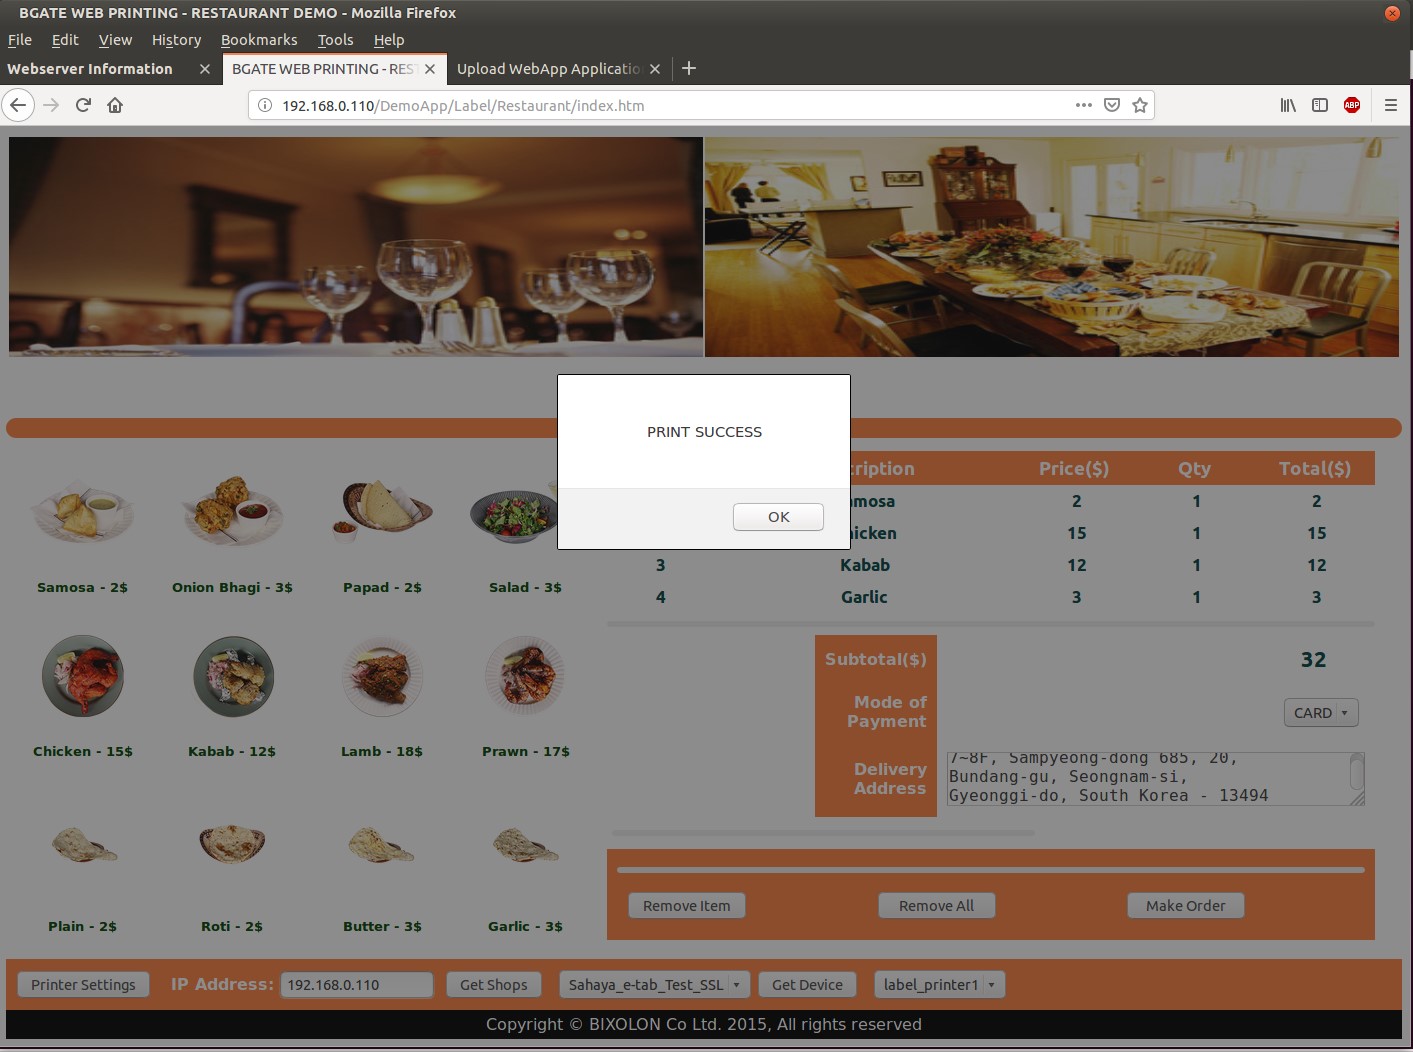
10. To test Coffee Shop demo, please click the COFFESHOP button, it will show the Coffee Shop demo application, Click the items you order and then enter the cash amount and then Enter the B-gate’s IP Address in IP Address box and then click the Get Shops button and then click the Get Device button and then select your designated printer from the Get Device drop down box, by default local_printer is selected. After selecting the designated printer, click the PRINT button, it will print the order on the selected printer and display the printer status.
-
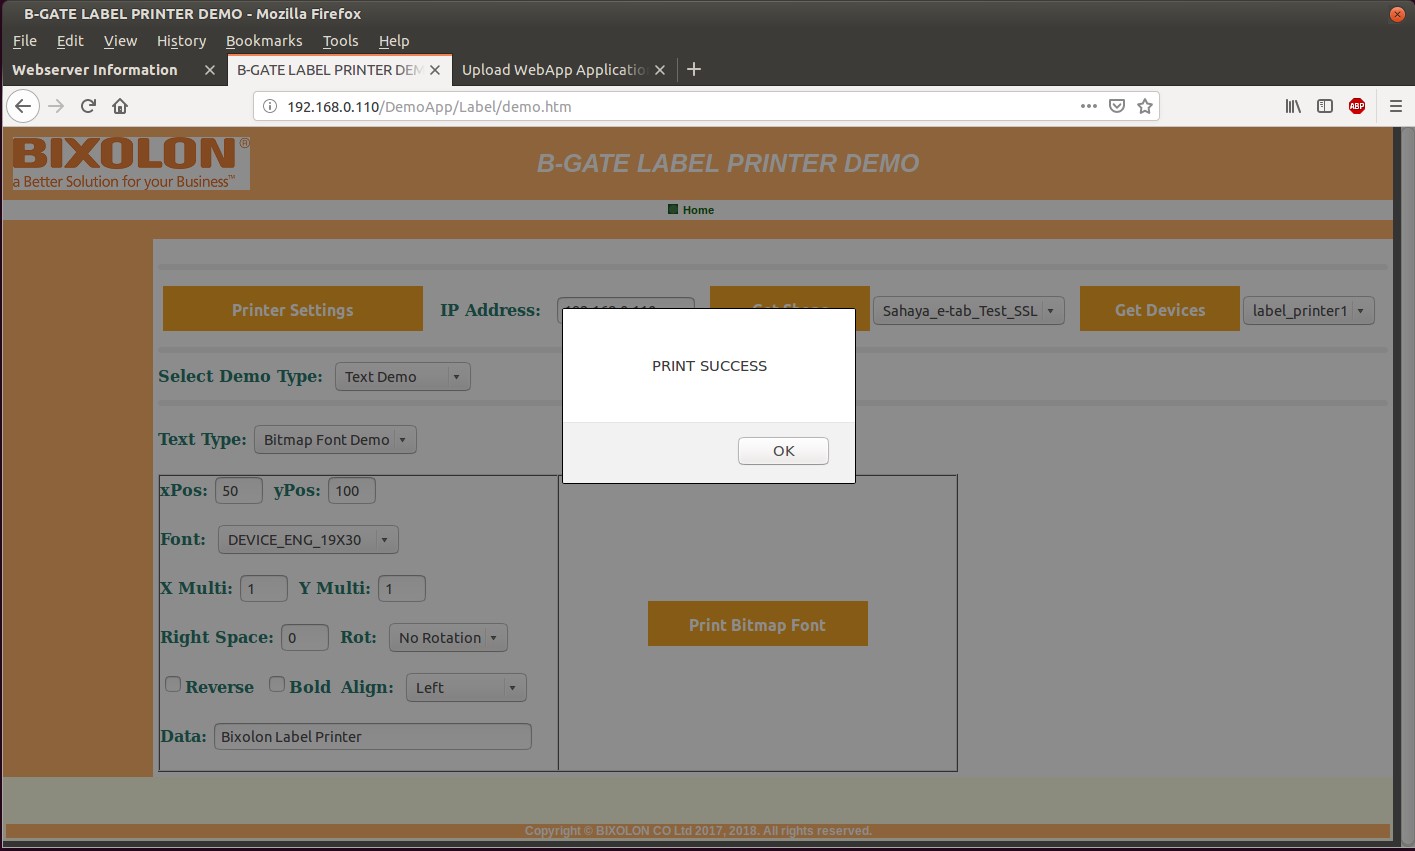
- Text Demo - Its used to test the Text strings (Bitmap and vector fonts)
-
- Bitmap Font Printing
- Vector Font Printing
-
- Text Demo - Its used to test the Text strings (Bitmap and vector fonts)
- Image Demo – Its used to test the Image printing
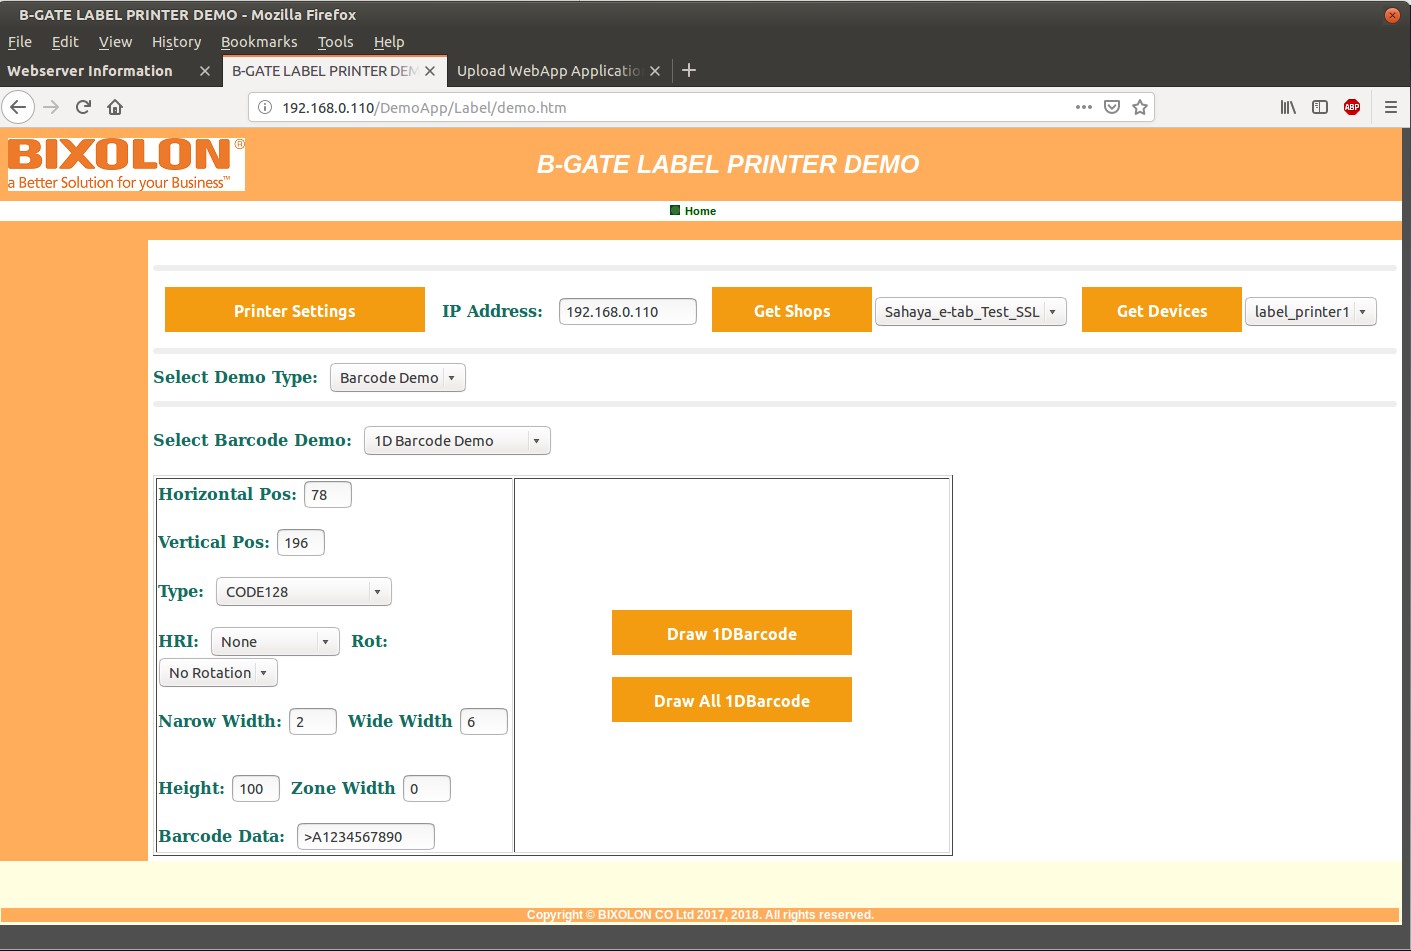
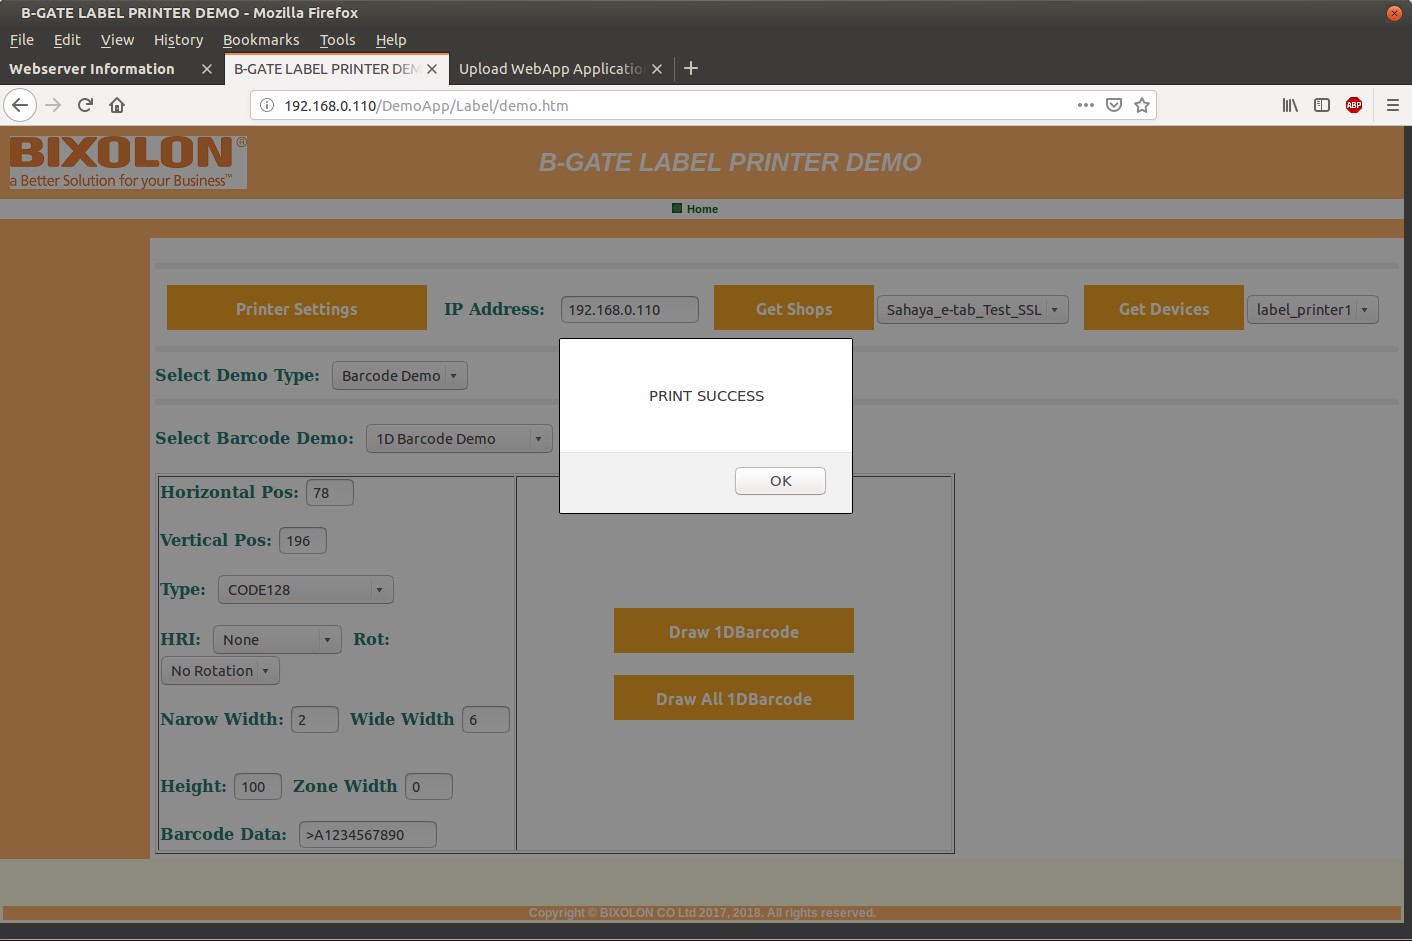
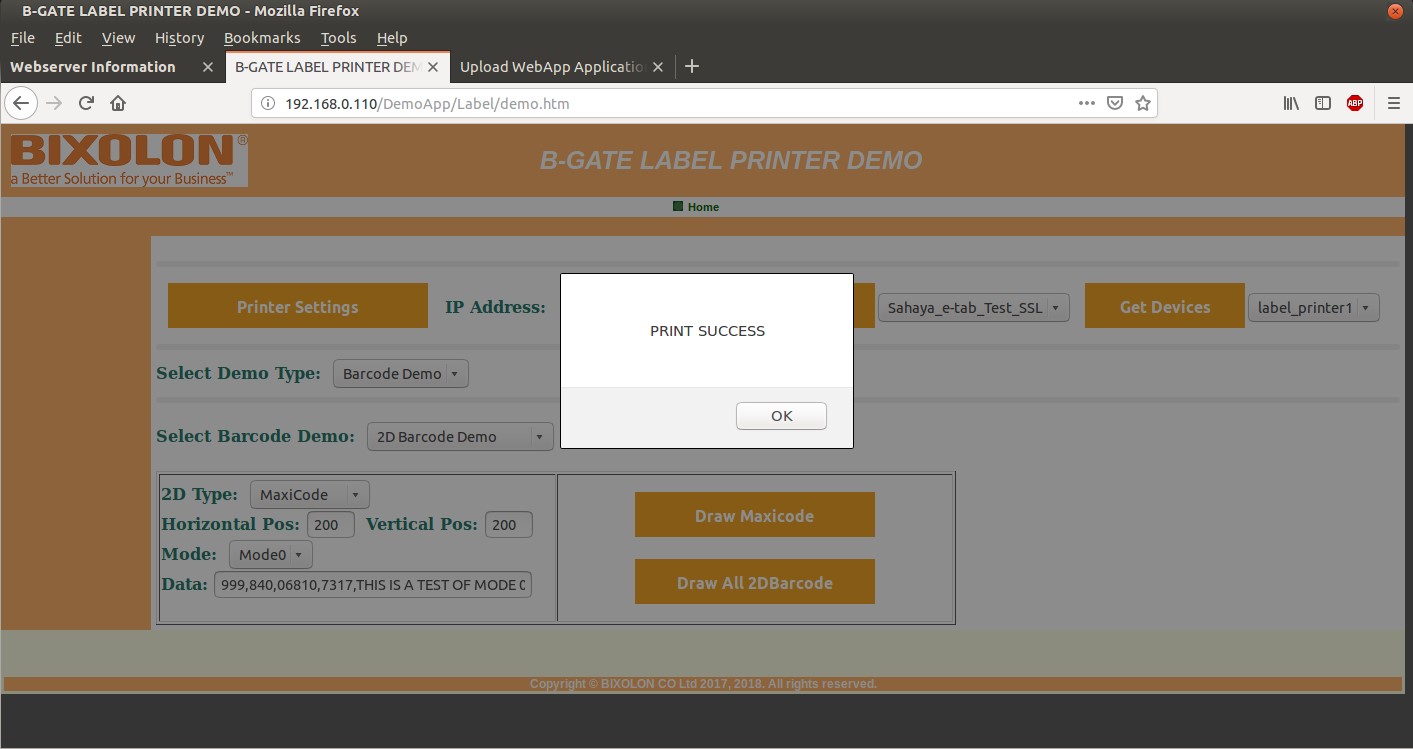
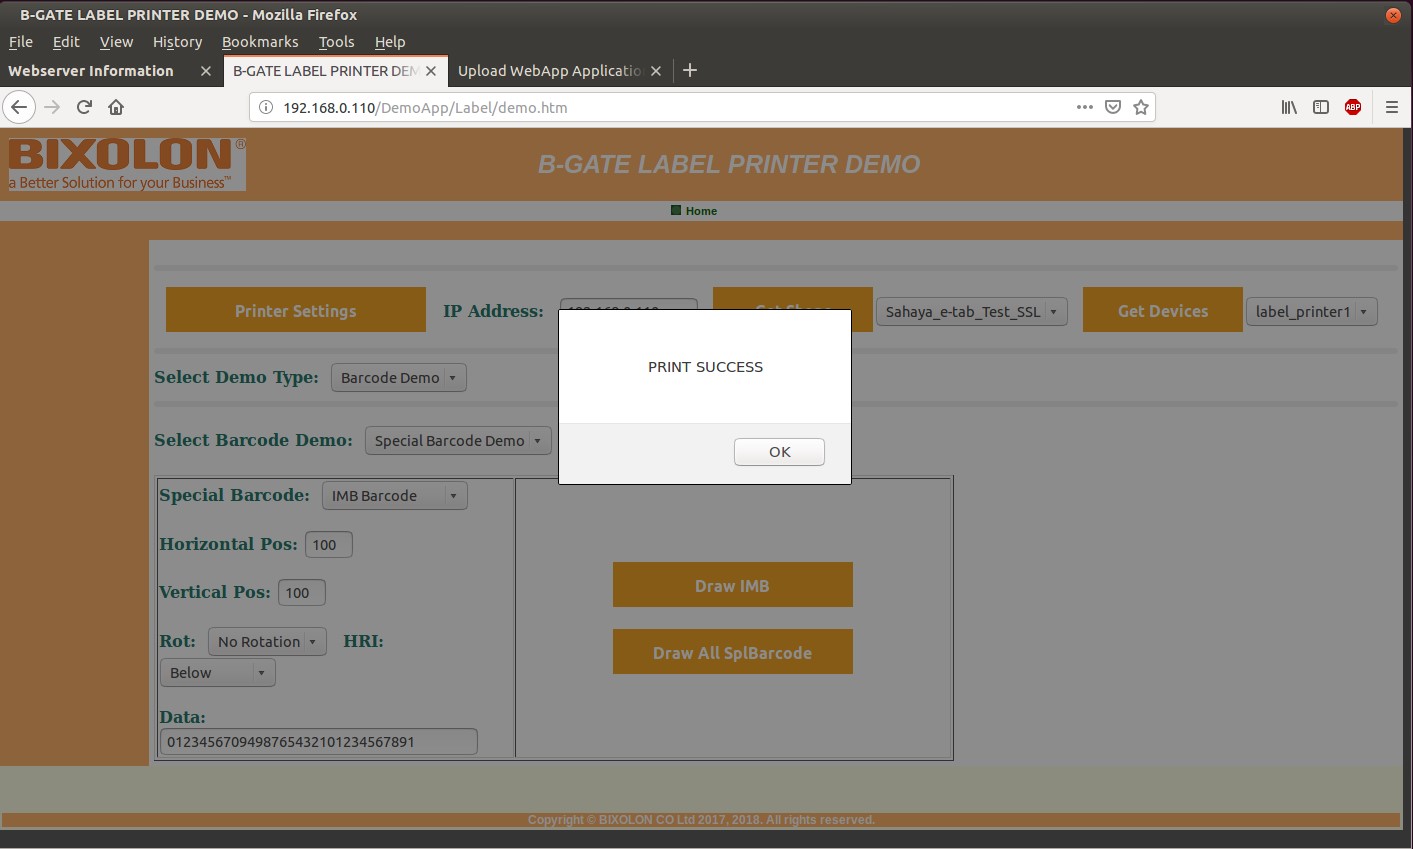
if you want to test the 1D Barcodes then select the ID Barcode Demo from the Select Barcode Demo drop box( by default 1D Barcode Demo is selected) If you want to test the all the supported 1D barcodes then click the Draw ALL 1DBarcode button and it will print all the 1D barcodes on the selected printer and display the printer status. If you want to test each 1D Barcodes one by one, then select the Required Barcode type from the Type drop box then and then click the Draw 1DBarcode button and it will print the selected 1D barcode type on the selected printer and display the printer status.
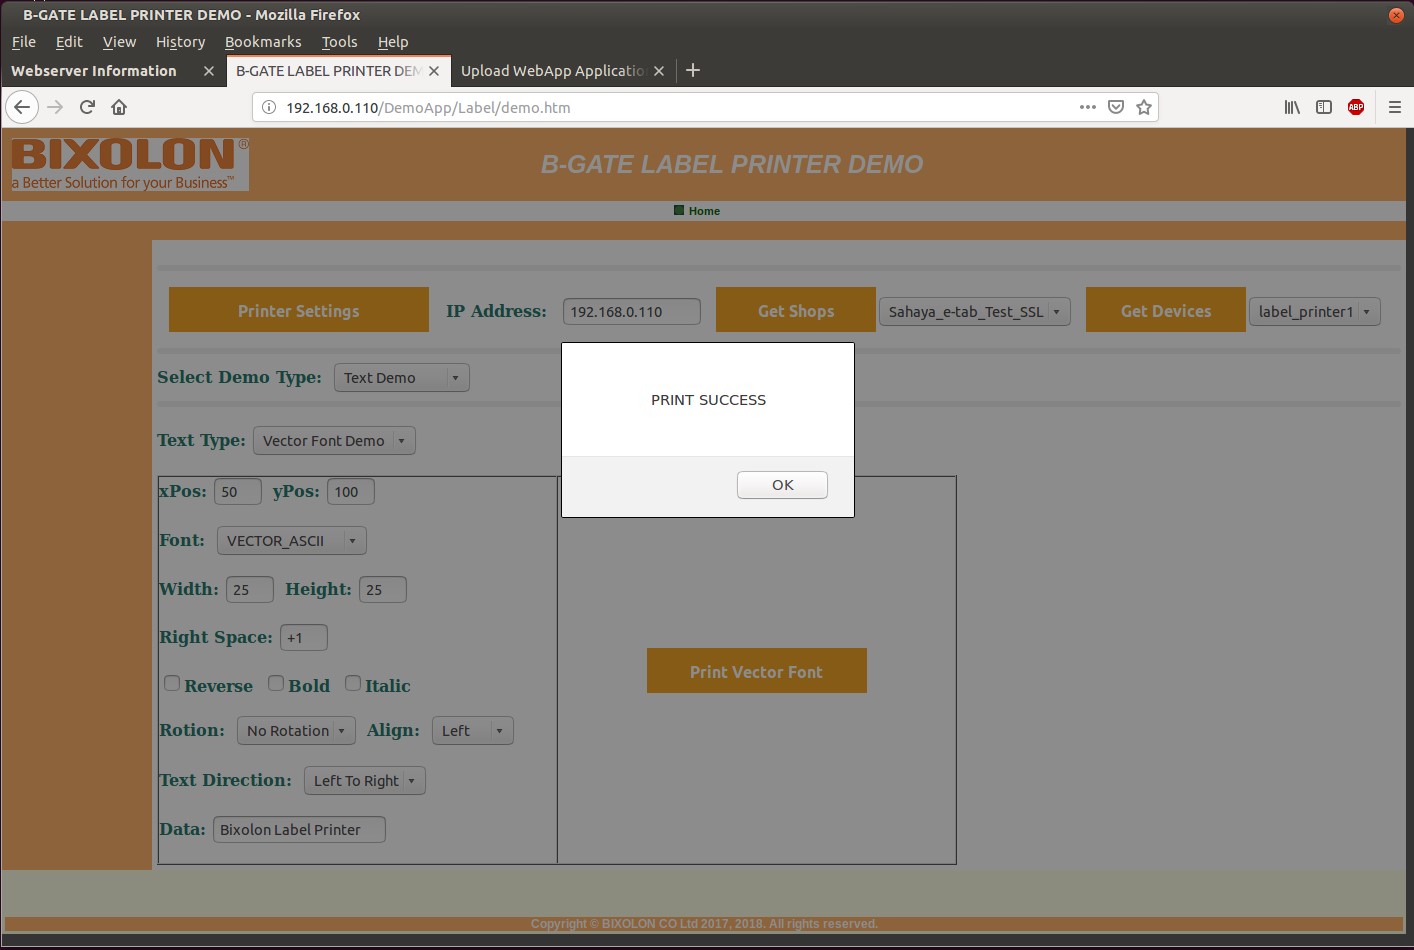
if you want to test the Vector text string printing then select the Vector Font Demo from the Text Type drop box(by default Bitmap Font Demo is selected), It will display the Vector font demo section, Enter the required details and then click the Print Vector Font button and it will print the text string on the selected printer and display the printer status.
11. To test the Image Demo Click the Printer Setting button to set the printer properties, Enter B-gates’s IP Address in IP Address box an then Get Shops button. Click the Get Devices button and then select your designated printer from the Get Devices drop down box and then Select the Image Demo from the Select Demo Type drop box (By default Shapes Demo will be Selected), It will display the Image Demo section, Enter required details and then click the Draw Image button and it will print the selected image on the selected printer and display the printer status.
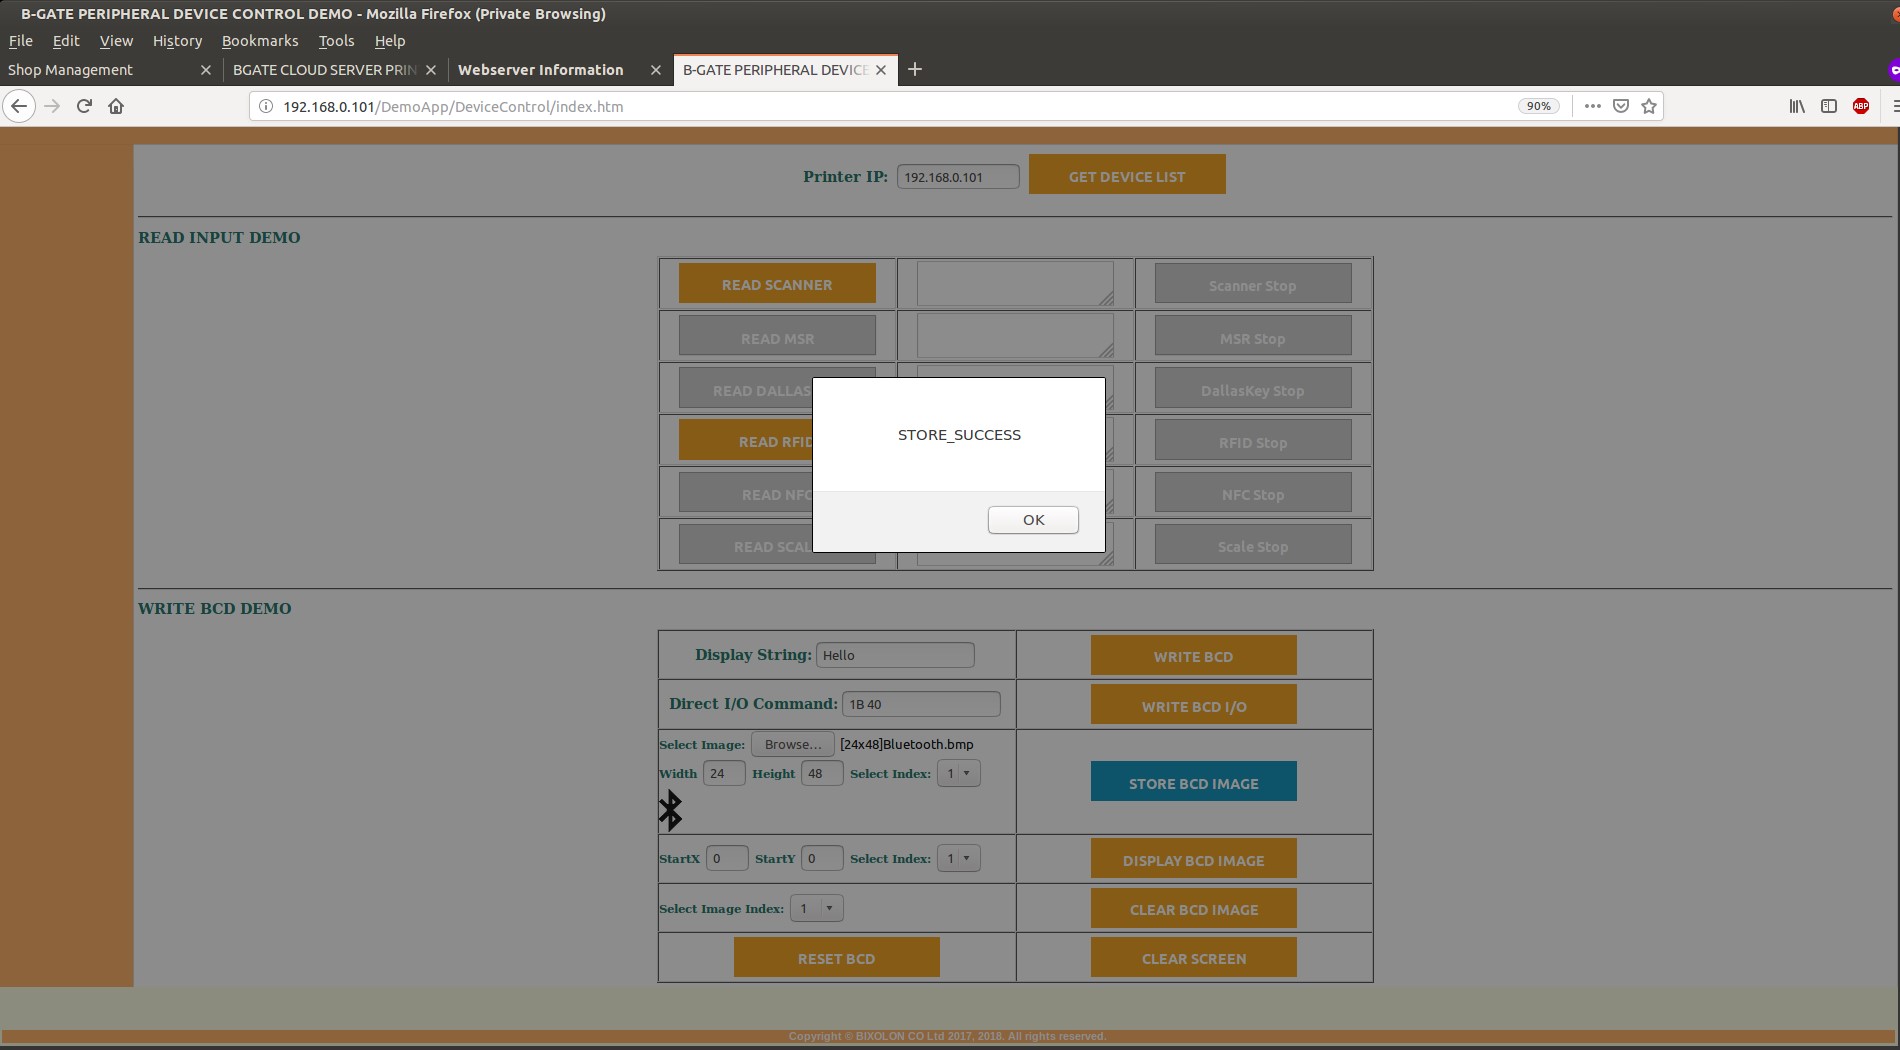
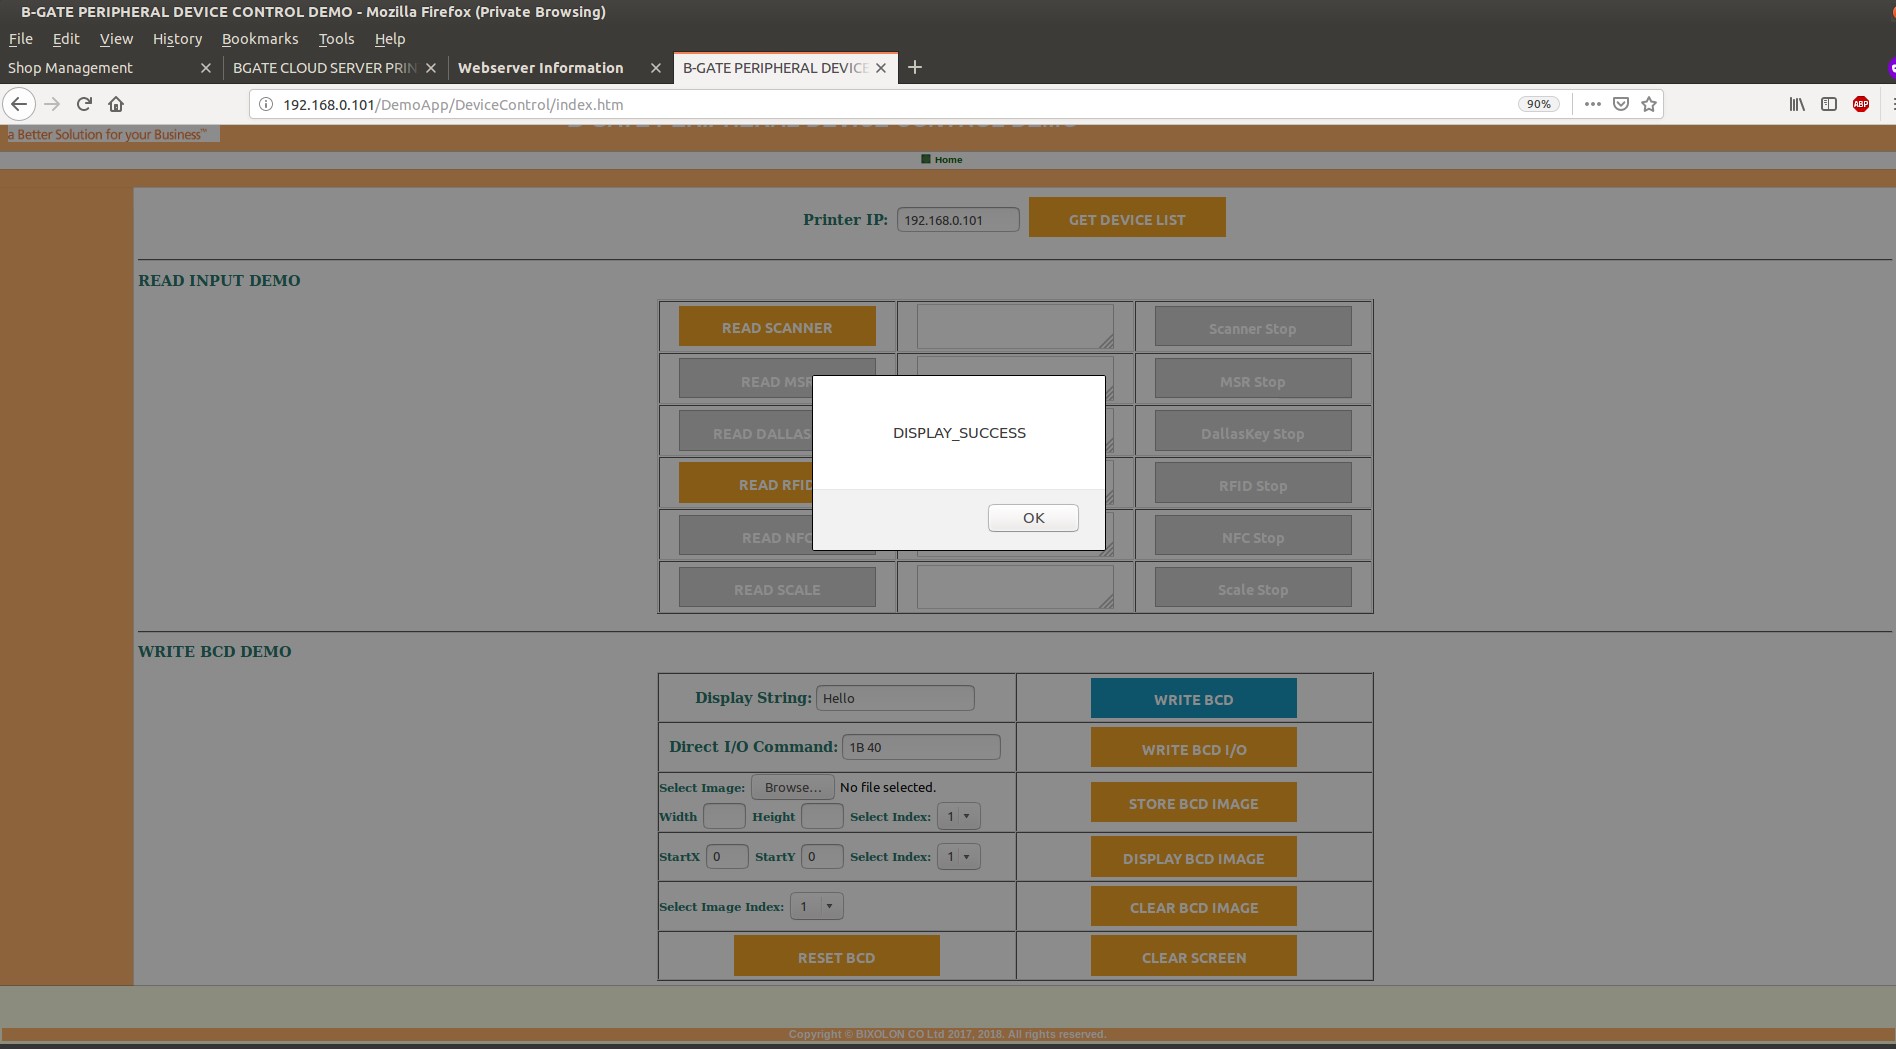
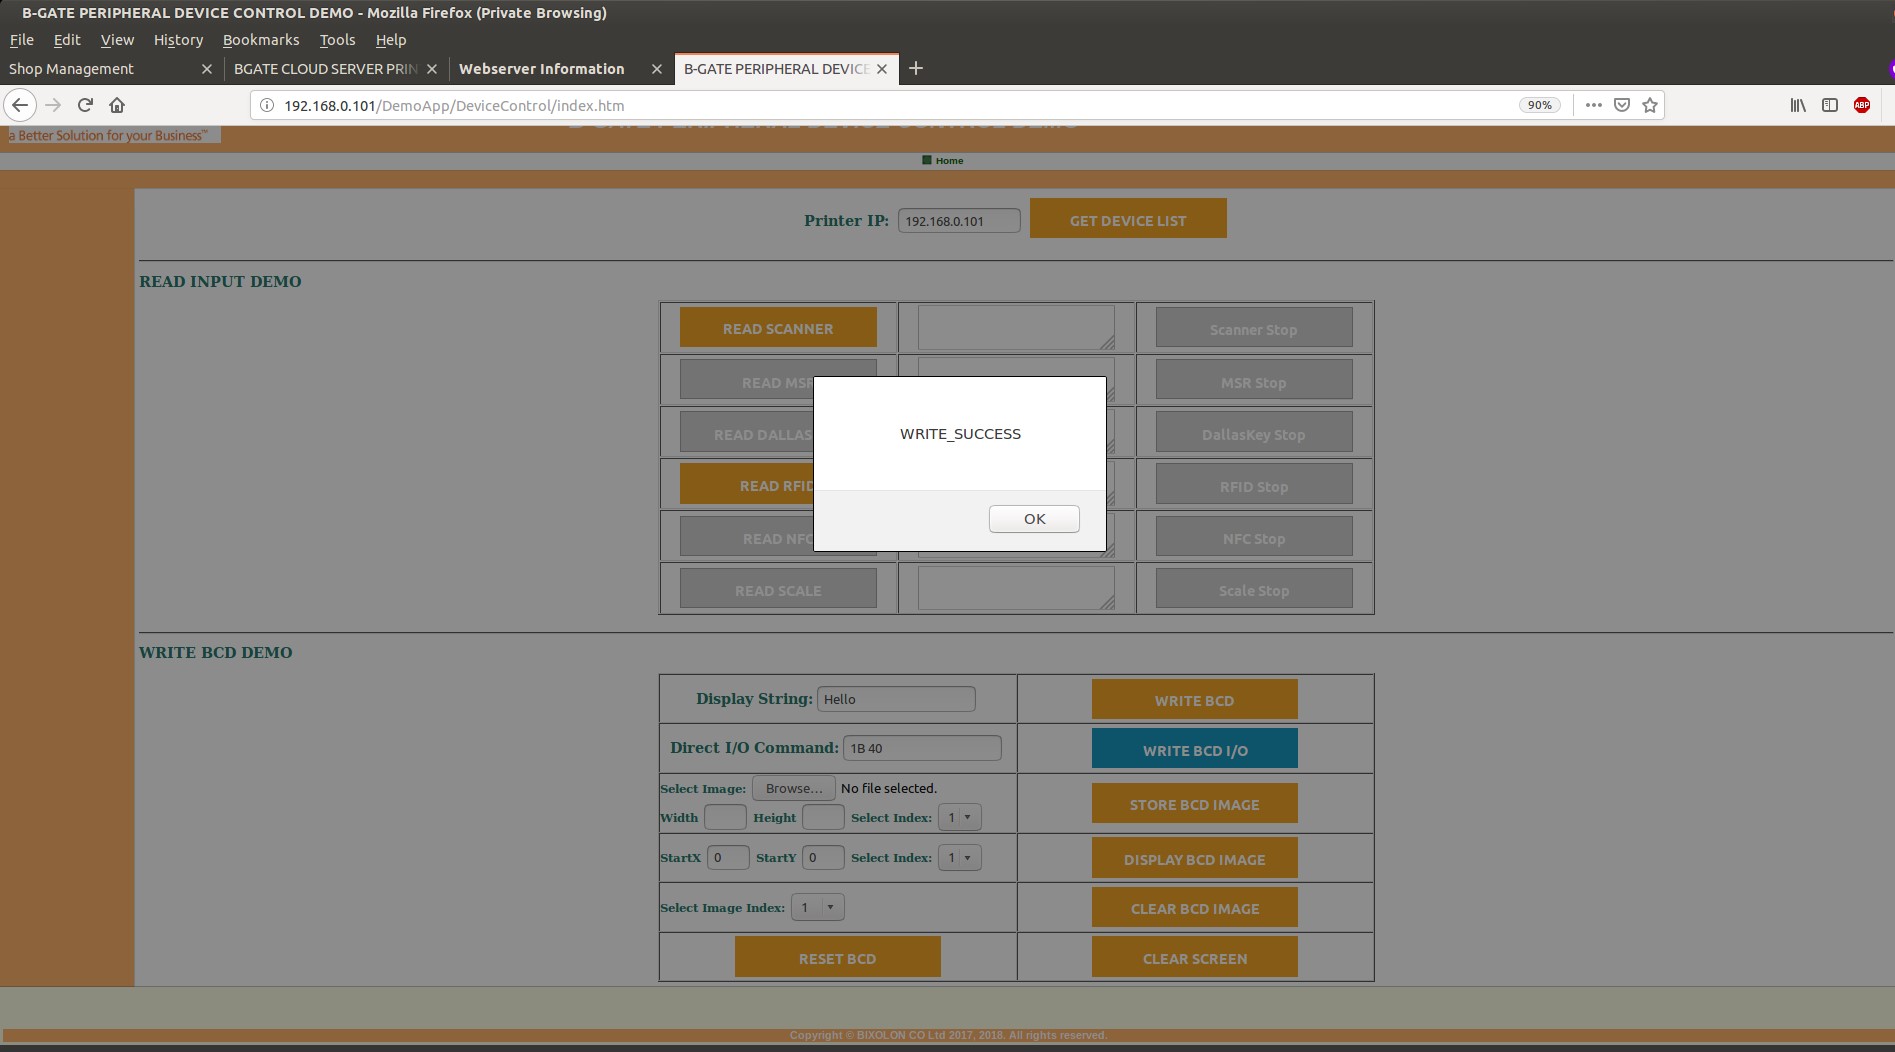
WebApp Print Testing – DEVICE CONTROL DEMO
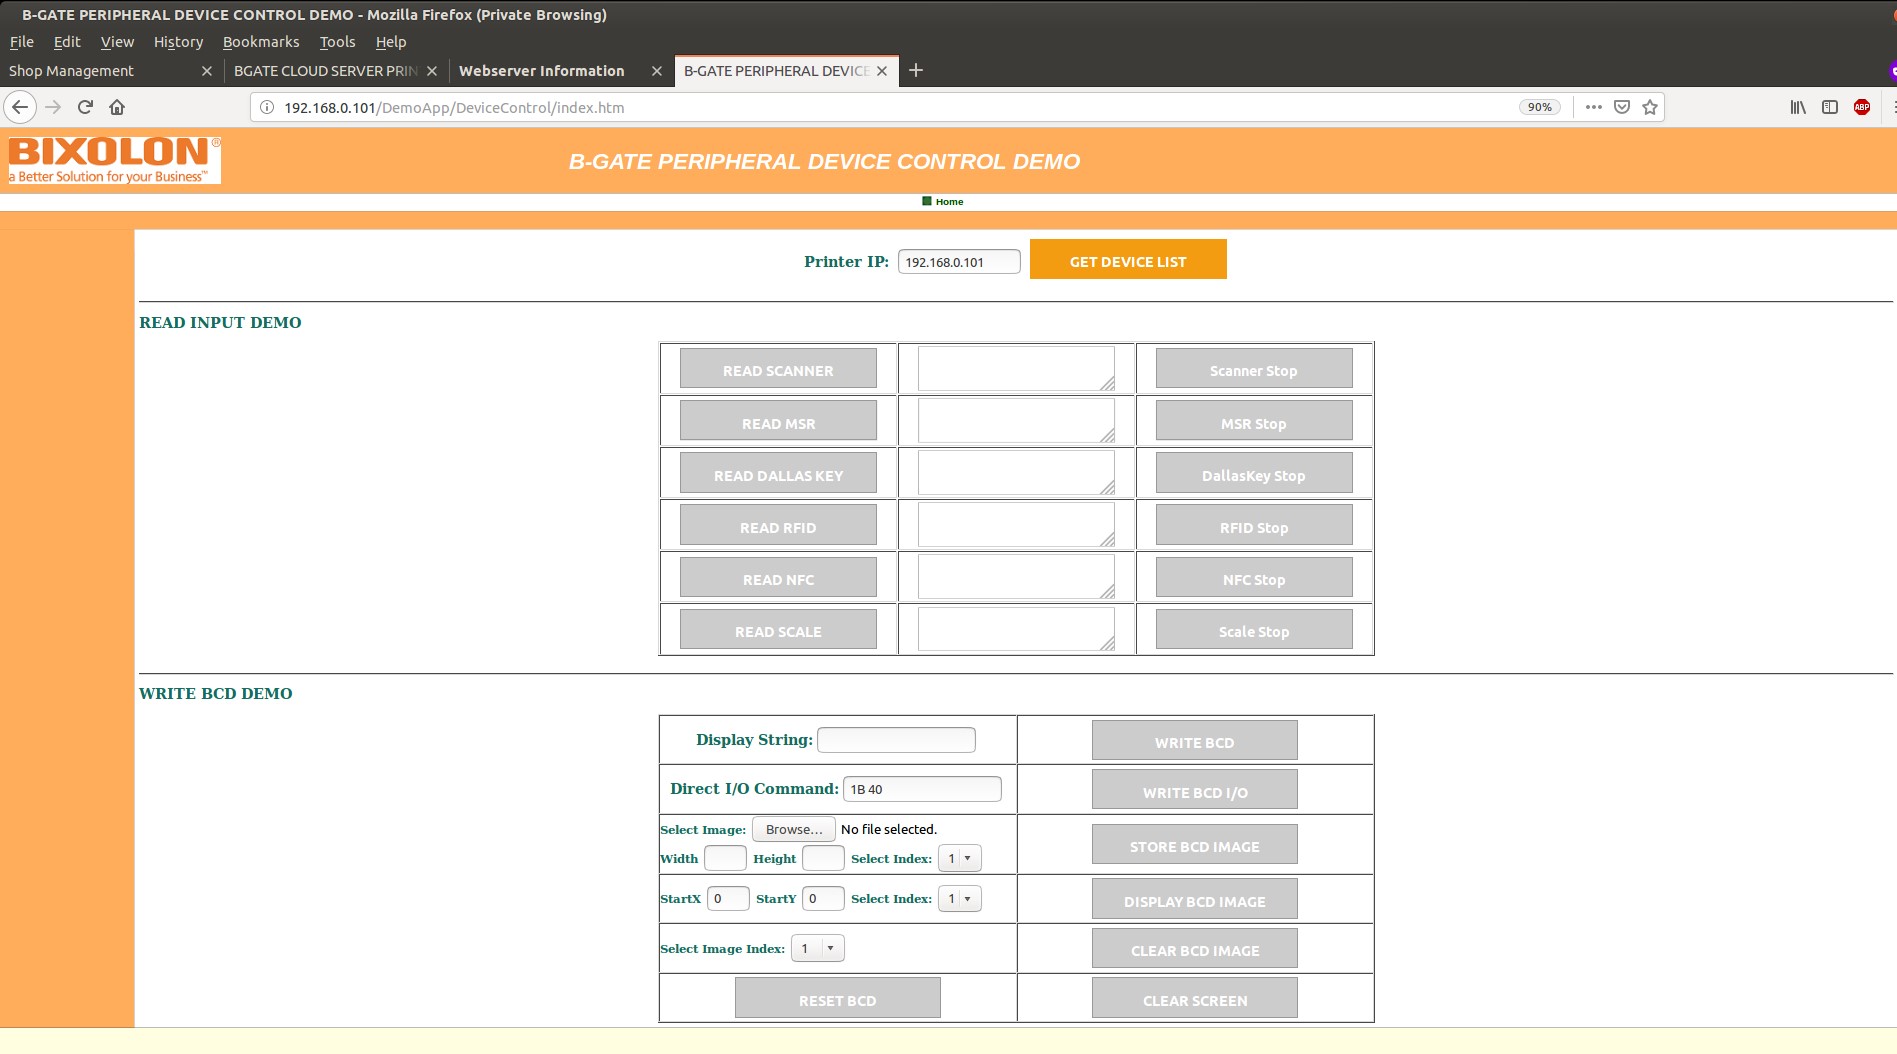

if you want to display a string into a BCD display, then Enter the string in the Display String box and then click the WRITE BCD button, it will display the string into the connected BCD and display the success message.
If you want to send direct I/O commands to the BCD display, then enter the commands in Hexadecimal format without 0x and then click the WRITE BCD I/0 button, it will send the I/O command to the connected BCD and display the success message.
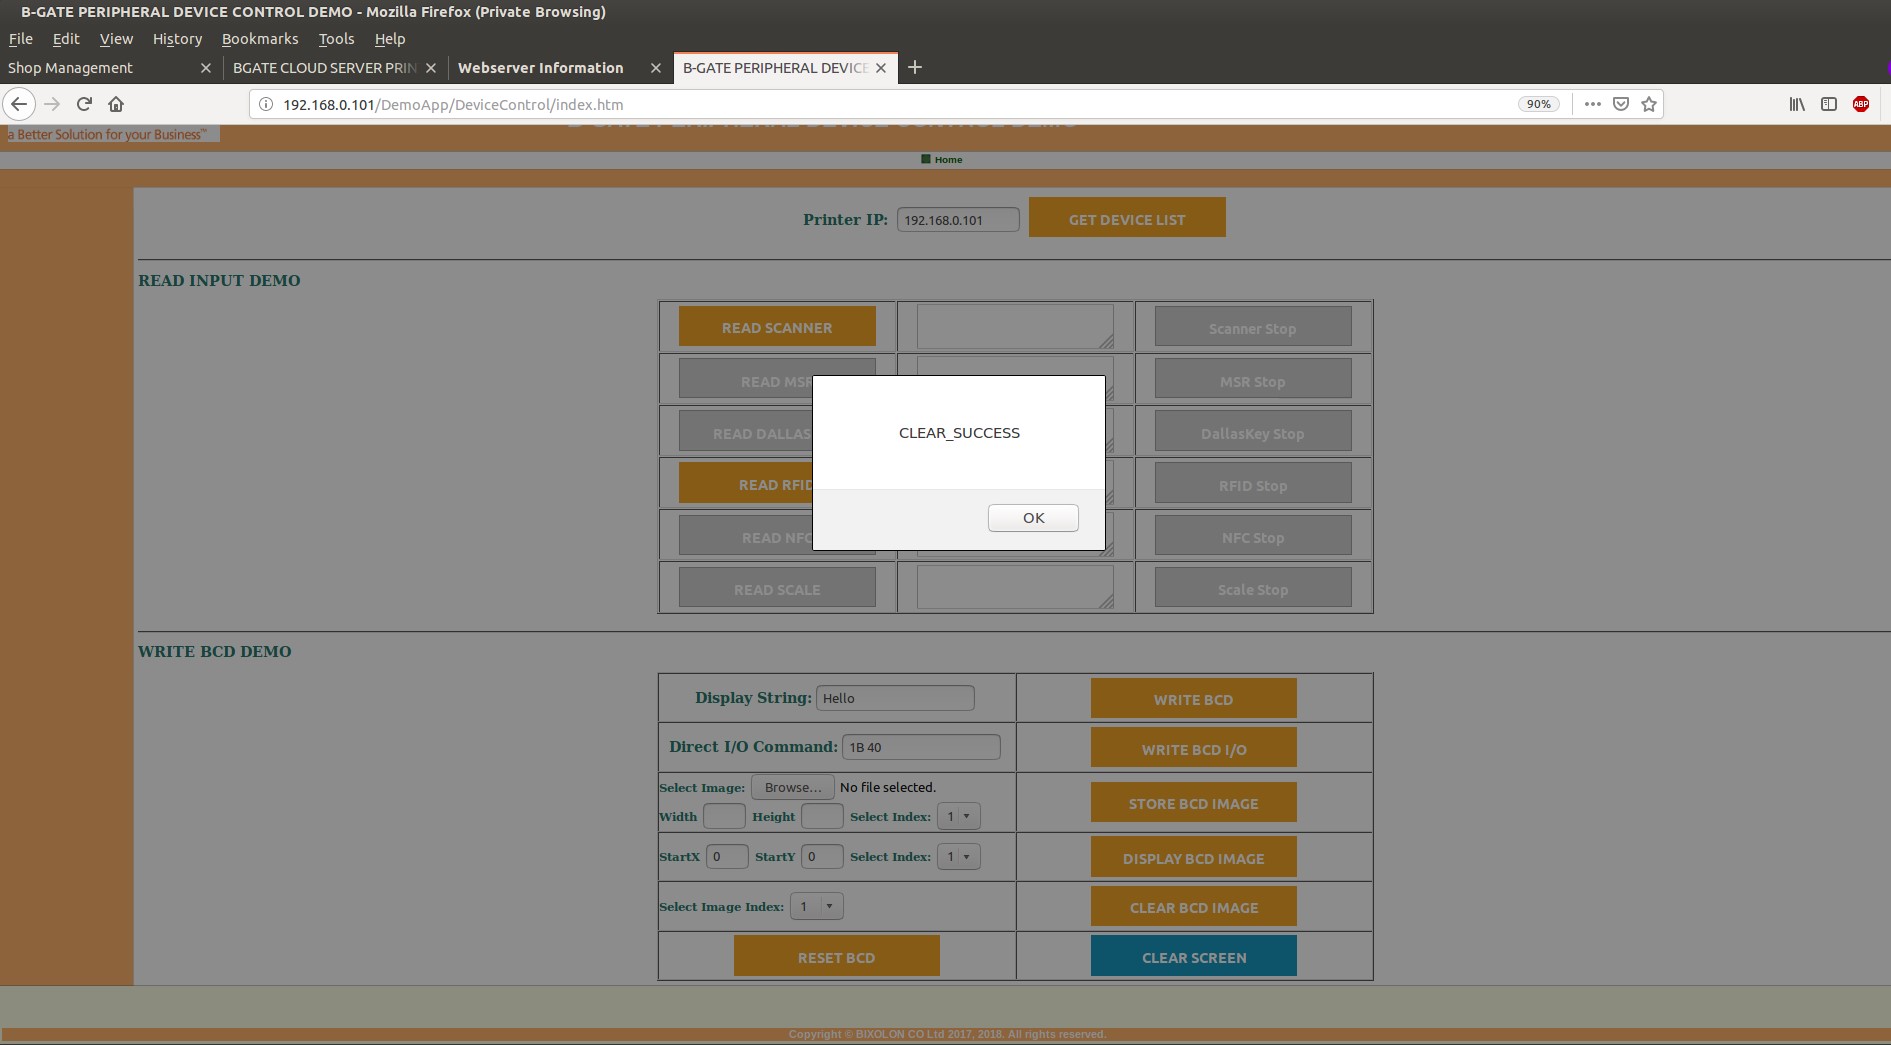
If you want to Clear the BCD display screen, then click the CLEAR SCREEN button, it will clear the BCD screen and display the success message.
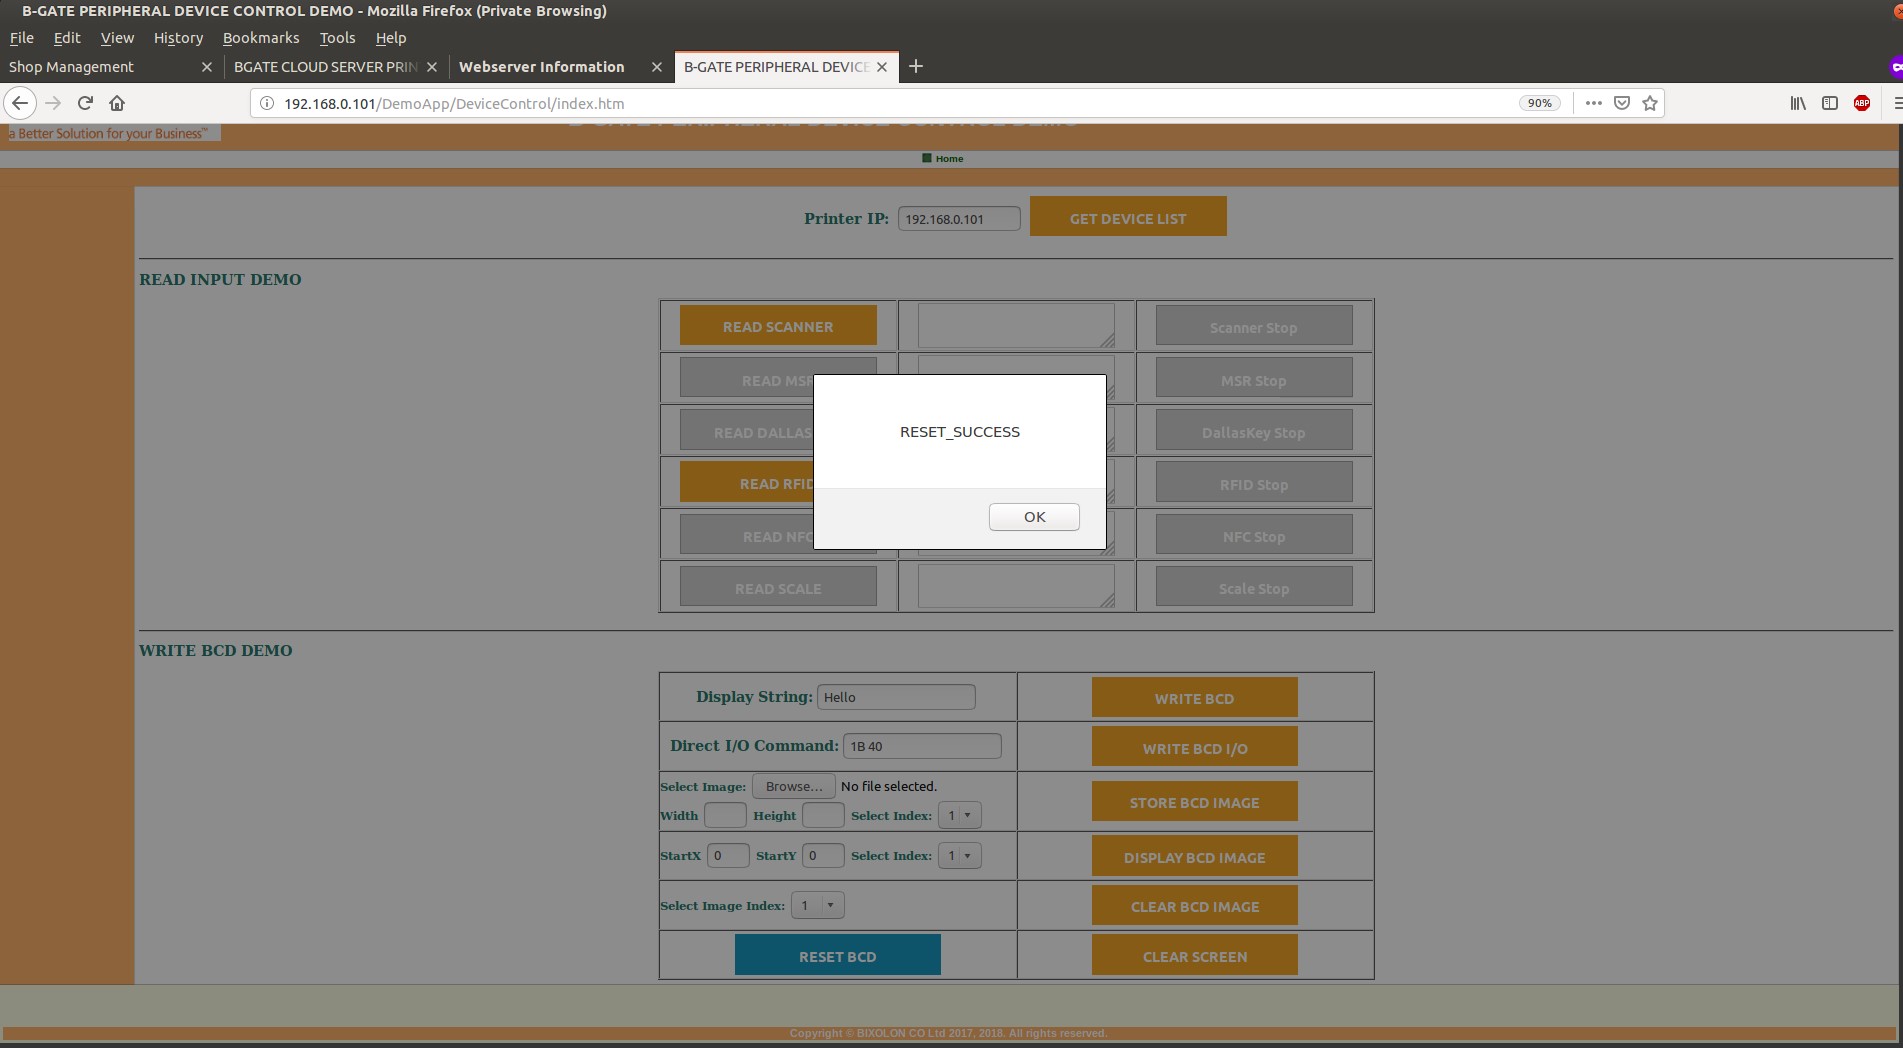
If you want to Reset the BCD display screen, then click the RESET BCD button, it will reset the BCD and display the success message.
To test the image store, display and clear functionalities then enter the required details and then click STORE BCD IMAGE button to store the image into the BCD. Click the DISPLAY BCD IMAGE button to display the stored image in the selected BCD index area. Click the CLEAR BCD IMAGE button to clear the BCD image in the selected index area. All image test options will display the corresponding success messages as well.